1.1.1. Windows: Detailed GSAS2MAIN Installation Instructions
In your favorite browser click on the link to the download file, https://github.com/AdvancedPhotonSource/GSAS-II-buildtools/releases/download/v1.0.1/gsas2main-Latest-Windows-x86_64.exe.
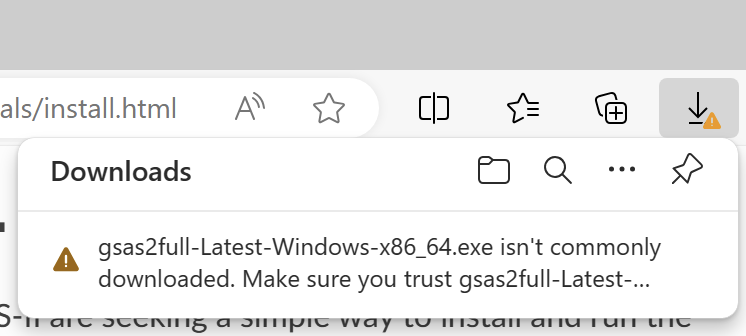
You may need to confirm that the file you have just downloaded is safe to open. Apparently the newest windows security makes it hard to install software that is not registered with Microsoft: I am told you have to first right click, go to Properties, and check the “Unblock” box. If your employer’s or school’s security policy will not allow this file to be downloaded or run, seek help from your local computer assistance office.
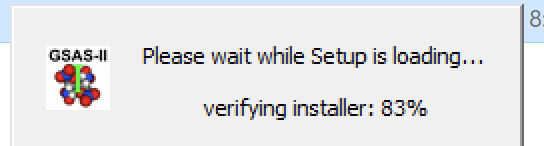
I needed to then rename the file to end in .exe (the rest of the name is not important) so that I could run it. Double-clicking on the file causes the window to the right to be displayed briefly and then the window below it opens.
then this window appears:
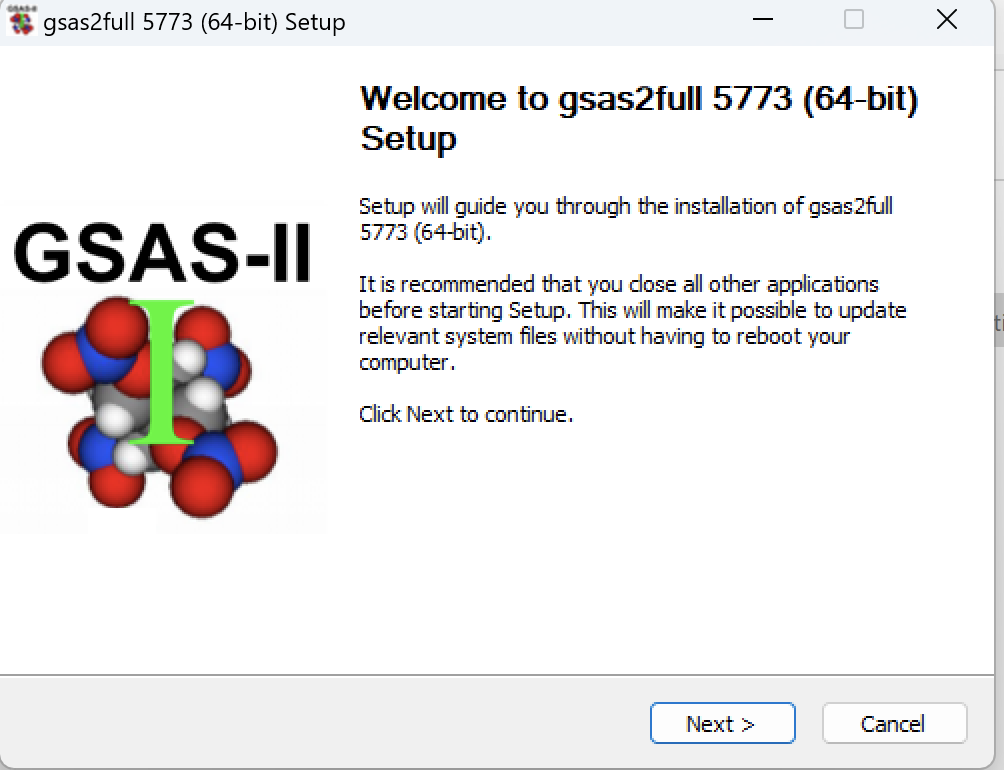
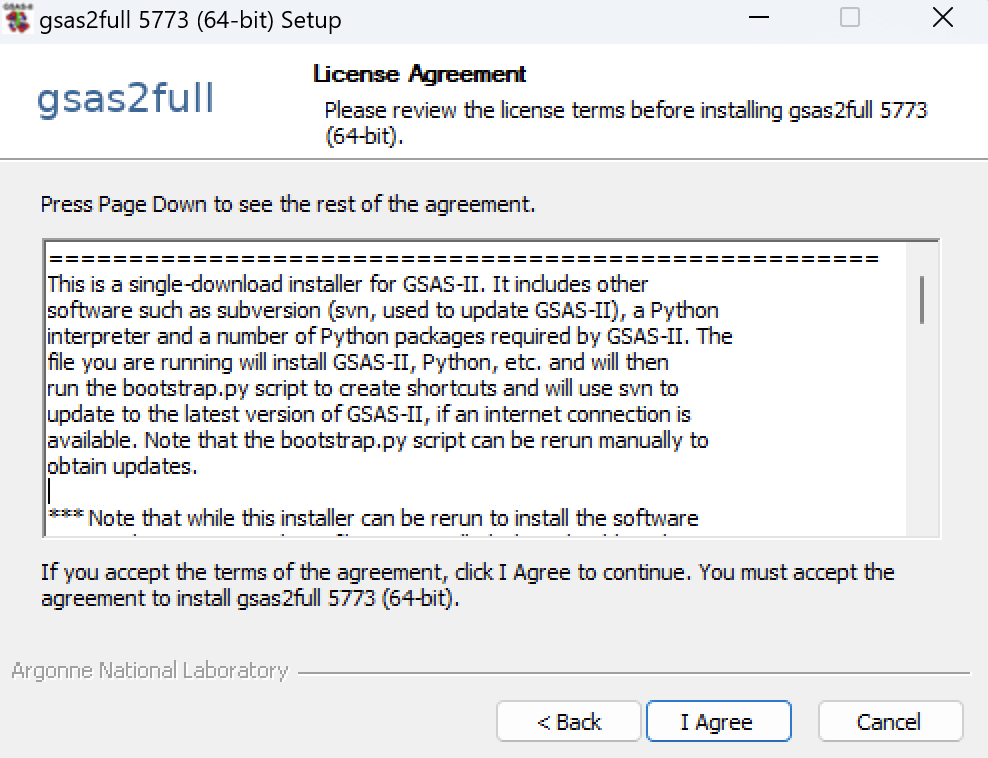
Click on next to start the installation process. You will be shown information on the installation process and software licensing. Please review it. You must click on “I Agree” to continue.
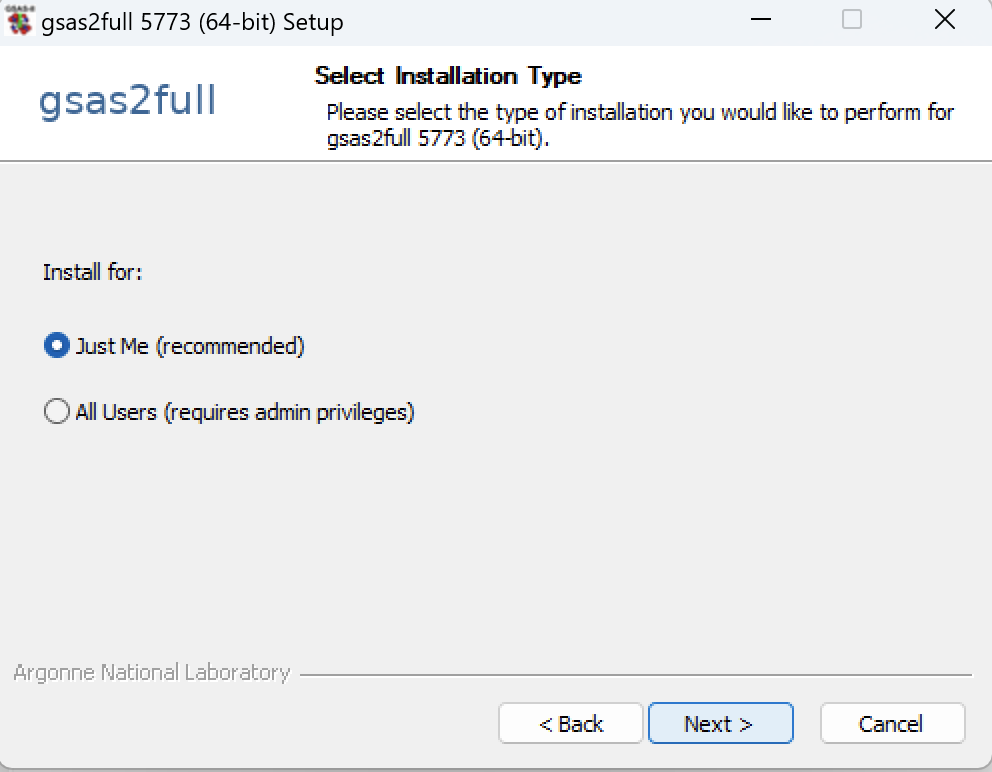
Select “Just Me” for the installation type. It is not clear if “All Users” will even work for computers shared between multiple users.
The default installation folder is usually fine, but I often prefer to change this to
C:\G2or something short. Some computers have been set so you must place the GSAS-II files within your account, however.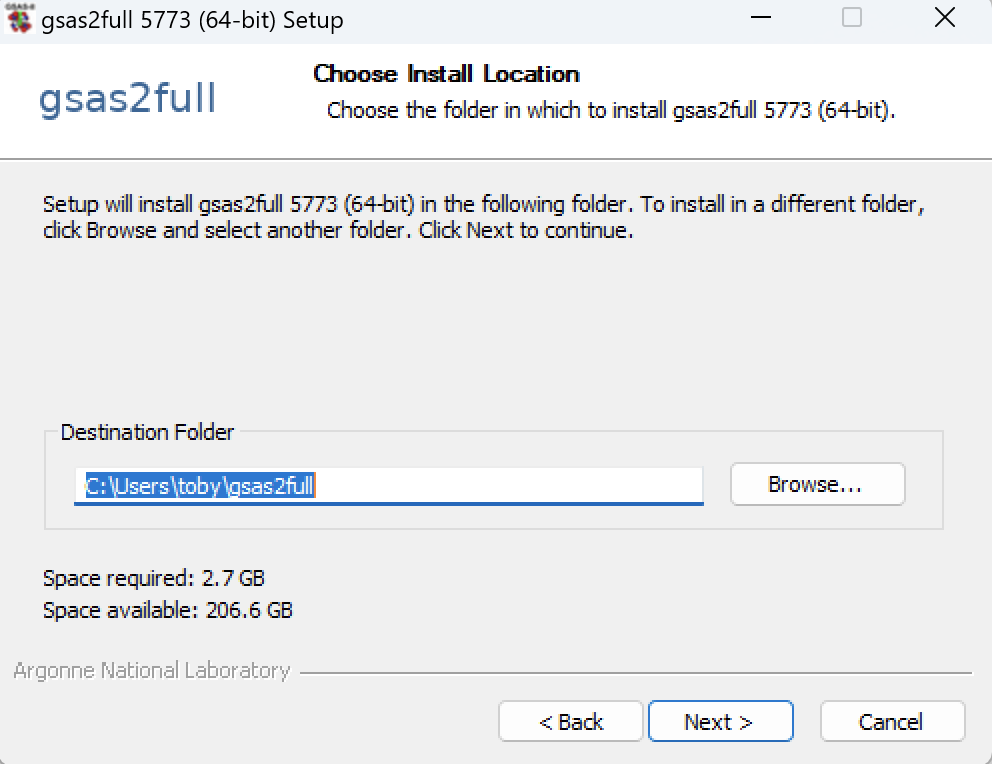
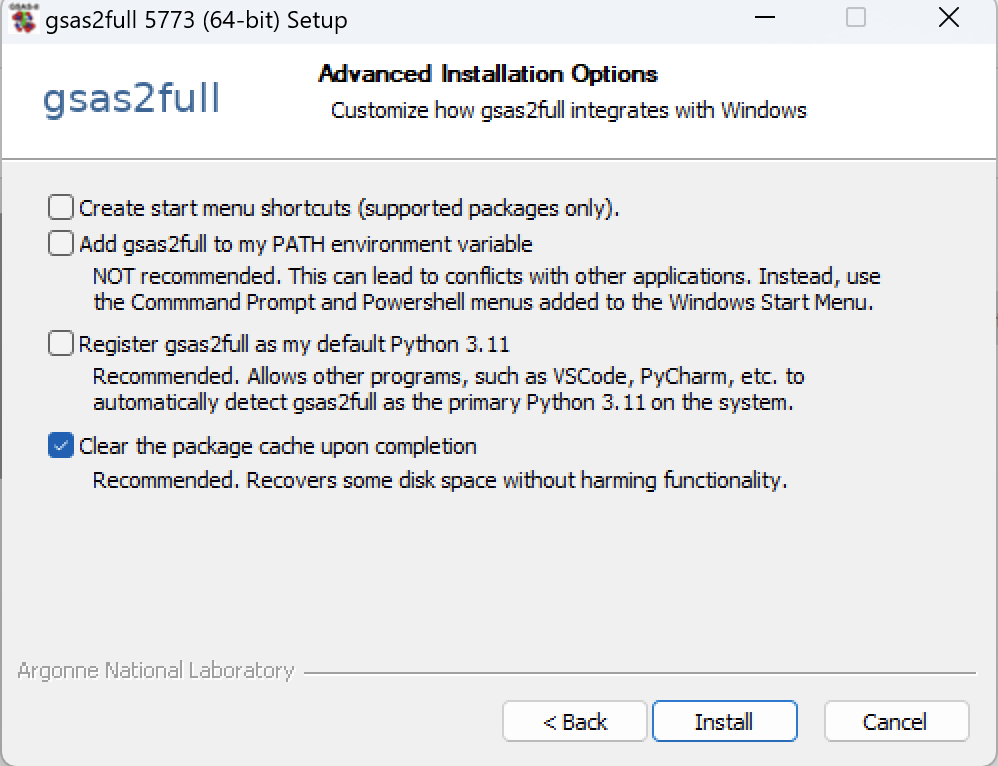
For the “Advanced Install Options”, I recommend unselecting the first option, leaving the first three options unchecked. Note that the start menu choice offered in the first option creates shortcuts for starting Python, not GSAS-II.
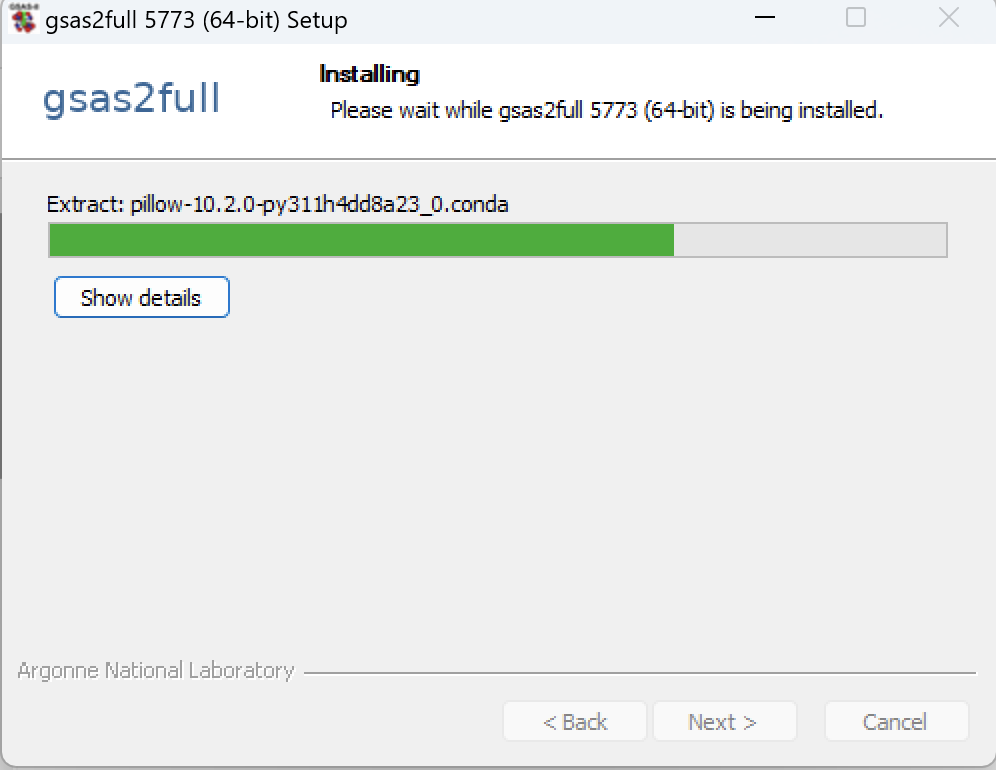
Installation then starts and may take at least a few minutes to complete, depending on computer speed and in one section, internet speed (as GSAS-II is updated). You may see a cmd.exe screen briefly as some GSAS-II Python commands are executed.
Once installation is complete, the window to the right is shown.
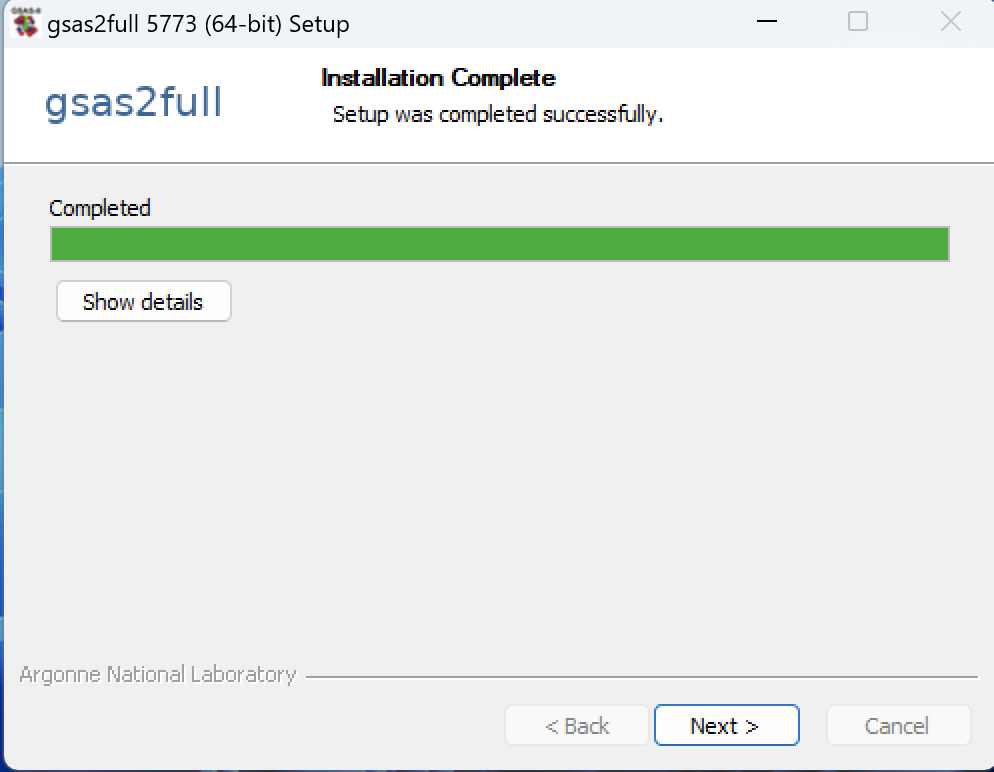 Clicking on "Next" causes the window below it to open. Press "Finish" there.
The GSAS-II installation is now complete. If the computer has internet access,
then GSAS-II should have been updated to the most recent version. If not, no warning
message is displayed, but GSAS-II can still be updated later, when internet access is
available, using the Help->"Check for updates" command.
Clicking on "Next" causes the window below it to open. Press "Finish" there.
The GSAS-II installation is now complete. If the computer has internet access,
then GSAS-II should have been updated to the most recent version. If not, no warning
message is displayed, but GSAS-II can still be updated later, when internet access is
available, using the Help->"Check for updates" command.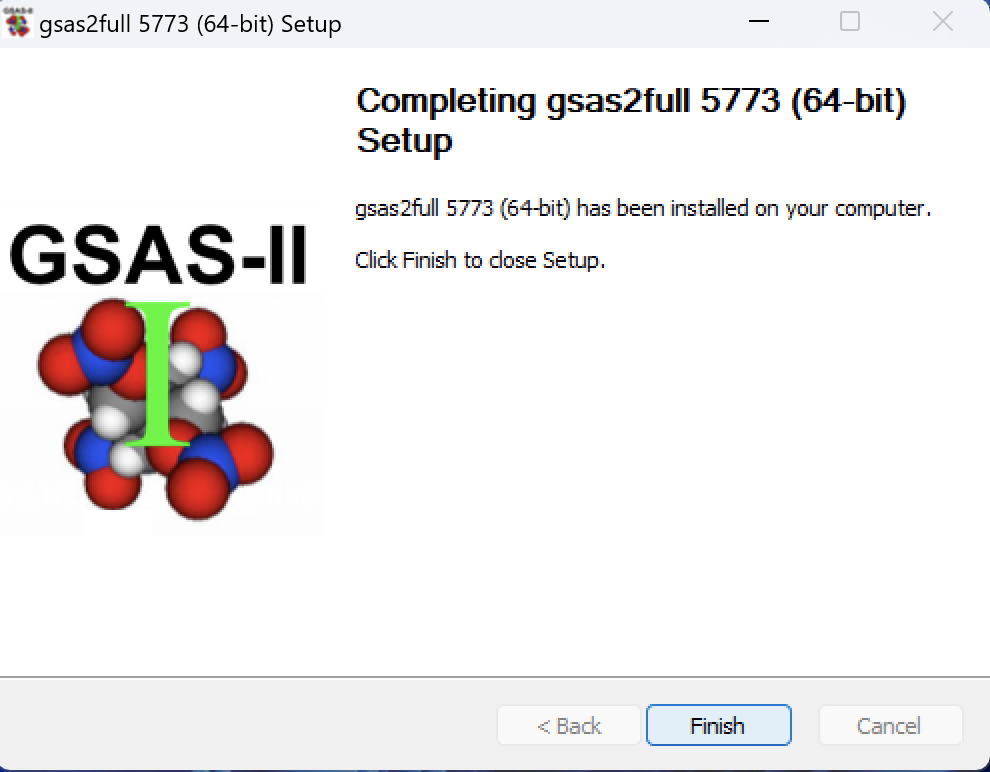
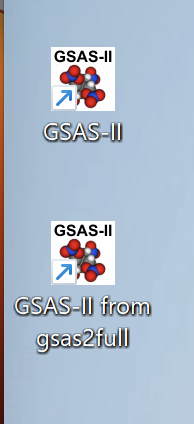
Note that this installer will associate the .gpx extension (used for GSAS-II projects) with the newly installed GSAS-II program. Clicking on a .gpx file will open that in GSAS-II. Also, a desktop icon for starting GSAS-II is created as seen below.
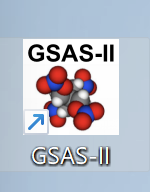
If GSAS-II has already been installed in a separate location, the icon will be named by the directory.
1.1.1.1. Installing as admin
It is not necessary to install GSAS-II from an admin account. As long as the user has write access to the location where the files will be written, it should be possible to install GSAS-II from an ordinary user account and this is what we recommend.
Some users or system managers might prefer to install GSAS-II from an admin account, so they can write the files to an area of their disk where a normal user account my not have access or to prevent accidental modification of GSAS-II files. This strategy will usually work fine and does have some good reasoning behind it, but this choice will require that some options that require changing installed files, such as updating GSAS-II, installation of a GSASIIscriptable shortcut, or installing optional Python packages will fail unless run from the admin account as well.
1.1.1.2. GSAS2MAIN installation for servers/classrooms
If you want to install on multiple Windows computers, you can install GSAS-II
into shared directory or a file server, but the path where the
software is installed is recorded in files that are
installed. This means that the path used to access GSAS-II
should be the same on all systems
where GSAS-II will be used. Likewise, it is possible to install GSAS-II
on one computer and then copy the directory contents from where GSAS-II has been
installed to other computers, but again the full path for installation
should be the same on all computers. E.g., if GSAS-II is installed
in C:\software\GSASII it can be copied to a directory with the
same name on other computers and used from that location, but not to
E:\software\GSASII or C:\Users\someone\GSASII. A supplied
script (...\GSASII\install\makeBat.py) can be run to register the
.gpx extension so that clicking on a GSAS-II project will open it in GSAS-II.
1.1.1.3. Command-line options
It should be possible to run the GSAS-II self-installer in NSIS “silent mode,” which would allow it to be run inside a script, but that does not seem to work and I am not sure why. Ref: https://github.com/conda/constructor/blob/main/CONSTRUCT.md#installer_type
Potentially useful commands would be:
/Sfor “silent” (batch) mode, so that no questions are asked and/D=<path>which specifies the location where GSAS-II will be installed (/D=E:\software\GSASII)/?displays the available options.